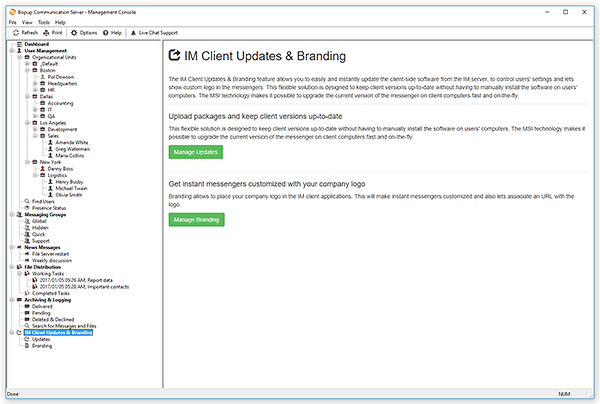
Getting Started |
User's Guide |
Setup |
Installation tips |
Step-by-Step Setup Guide |
Installing MS SQL Server 2005/2008 Express Edition as a host database server |
Migrating and moving Bopup Communication Server Database to a new Microsoft SQL Server |
Removal |
Interface |
User Management |
Overview |
Organizational Units |
User Accounts |
Move users and Organizational Units |
Find users |
Presence status |
Sending instant messages to users |
Messaging Groups |
News Messages |
File Distribution |
Archiving & Logging |
IM Client Updates & Branding |
Overview |
Tools |
Active Directory (LDAP) integration |
Import User accounts from the Active Directory (LDAP) |
SQL database maintenance |
BCSCmd.EXE command line tool |
Options |
Interface settings |
Authentication settings |
Account settings |
Messaging settings |
Archiving & Logging settings |
File Transfer settings |
About |
The IM Client Updates & Branding feature allows you to easily and instantly update the client-side software from the IM server and lets show custom logo in the messengers. This flexible solution is designed to keep client versions up-to-date without having to manually install the software on users' computers. The MSI technology makes it possible to upgrade the current version of the messenger on client computers fast and on-the-fly.
To upload client packages to the server, you should download the MSI setup files from Downloads. Save the files to your disk and select the IM Client Updates & Branding item in the tree to switch to the update view.
![]() |
| Uploading the client MSI packages and brand logo to the server |
You can also add the setup.ini configuration file to redistribute it with the new installation package. This file allows you to specify pre-defined and unchangeable options for the client messaging software that will be applied to all users on the target computer after the new package is installed. This feature allows you to control critical and important settings in the messengers and prevents users from changing those options.
Download the configuration file from Downloads, edit and leave all the options you want to set as read-only to all users. Then upload the file by clicking the Add setup.ini or Overwrite with a new one links. To view the currently stored INI file, click the View link. To remove the file from the server and avoid redistributing it with the client installation, click the Remove link.
![]() |
Since the Instant Messaging Client Updates feature is based on the MSI technology, the user should have the appropriate privileges on his computer to be able to install a new update package. Otherwise the installation will fail due to user permissions and you will have to deploy the new version of the IM client via the Active Directory Group Policy or install the update manually. |
![]() |
| Uploading company/brand logo on the IM server to display it the instant messaging clients |
When you already uploaded a brand logo on the server then the Branding view shows a small preview of the uploaded image and associated URL.
To upload a new logo click the Upload new brand logo to open the upload dialog box.
![]() |
| Uploading company logo |
Click Browse... button to select an image file to upload. You can upload only images in bitmap (*.BMP) format. Please note that the image will be resized to 100x30 pixels (depends on a version) to be properly shown in the client-side messengers.
You can also associate an URL that will be open when a user clicks on the brand logo in the messenger. That URL can be link to Internet/Intranet website (started with http://, https:// or www. string), to a network computer (started with \\) or to a local file (strarted with file://).
Click Upload button to upload selected image on the server. Uploaded company logo will be transferred and shown in the client messengers on their next startup.
A simple preview shows how the uploaded logo will be shown in the messaging clients. The brand logo is shown in titles of all dialog boxes and windows of the messenger.